Train Dead Hangs for Shoulder Mobility and Posture

Consider training dead hangs for shoulder mobility and improved posture. Your body will feel great when hanging around opens your shoulder girdle and decompresses your spine. If you ever experience tension headaches, neck stiffness, or lower back discomfort, this simple drill may be what you're missing.
Enter the world of hanging (or what the fitness world simply calls dead hangs). It may come as a surprise but hanging is extremely beneficial for so many areas of your body including your hands, wrists, elbows, shoulders, and spine. If we kept hanging from early childhood and never stopped, we would never lose our shoulder mobility or have as many shoulder issues as adults.
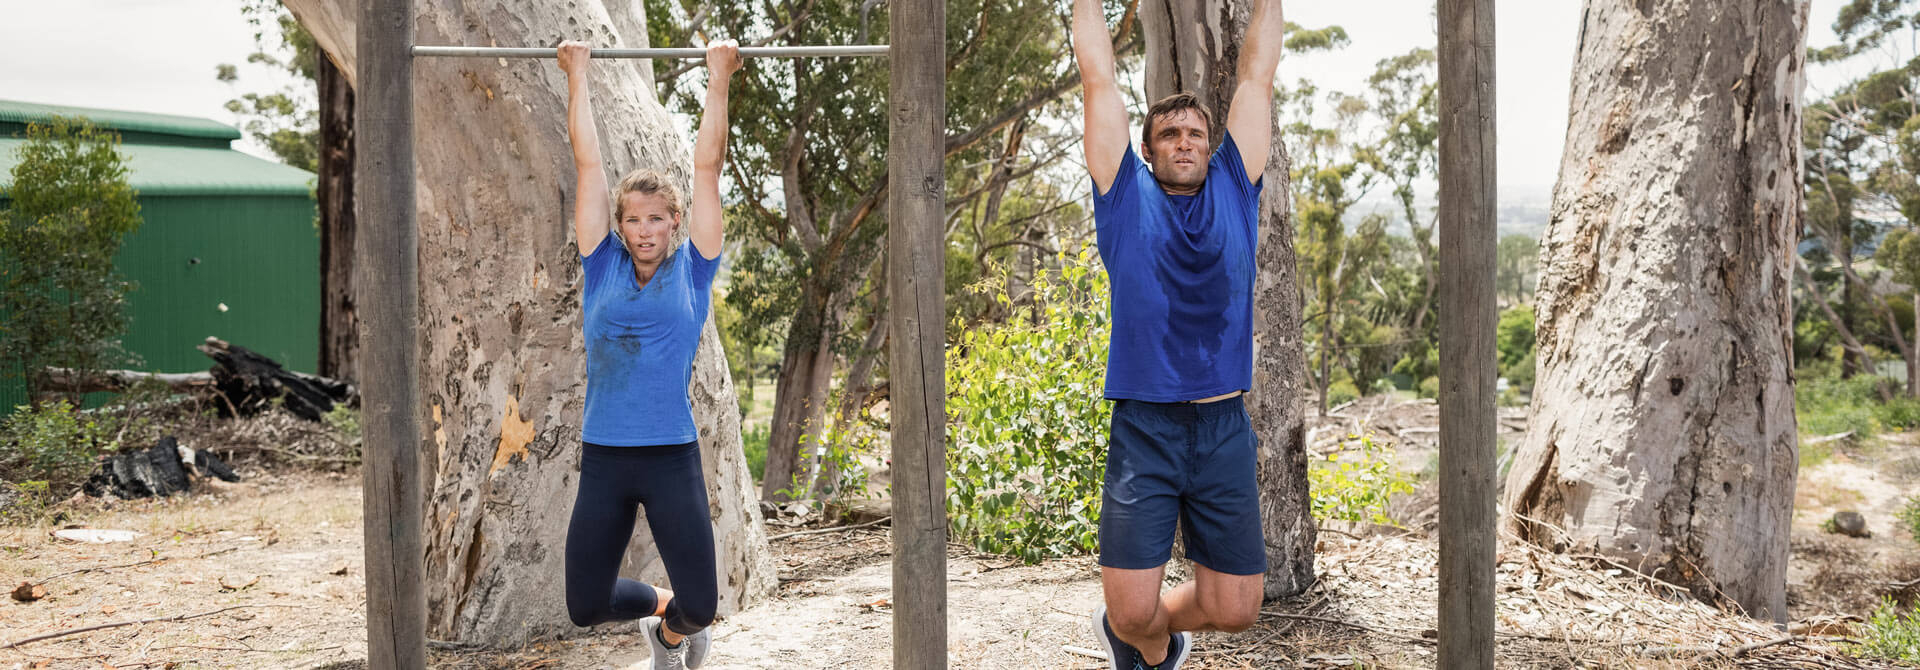
The act of hanging is simply suspending yourself from a bar with straight arms overhead. This basic and important movement can be implemented into your daily training program – regardless of whether you are a beginner or advanced athlete. Here, we’ll go through the types of hanging and some tips to keep in mind!
Step 1: Passive Hanging
Passive hanging is a good starting exercise for beginners who have healthy shoulders. Depending on your level of strength and mobility, you can either hang fully with feet in the air, or you can support your feet on the ground, stool, or a rubber band for decreased intensity. Remember: passive hanging is relaxed and non-active, so get comfortable and keep the intensity low.
Step 2: Active Hanging
Work on passive hanging for at least a few weeks before you advance to active hanging.
Active hanging demands more strength and control. Muscles around the shoulders engage to perform moves such as scapular elevation and depression (moving the scapulas up or down), retraction or protraction (squeezing the scapulas together or pushing them apart), or scapular circles (a combination of all 4 motions). You can do these movements with feet fully in the air or supported to decrease the intensity.
Step 3: Dynamic hanging
This is the most intense regarding strength and mobility. Include dynamic hanging only after you feel totally comfortable and strong in passive and active hanging.
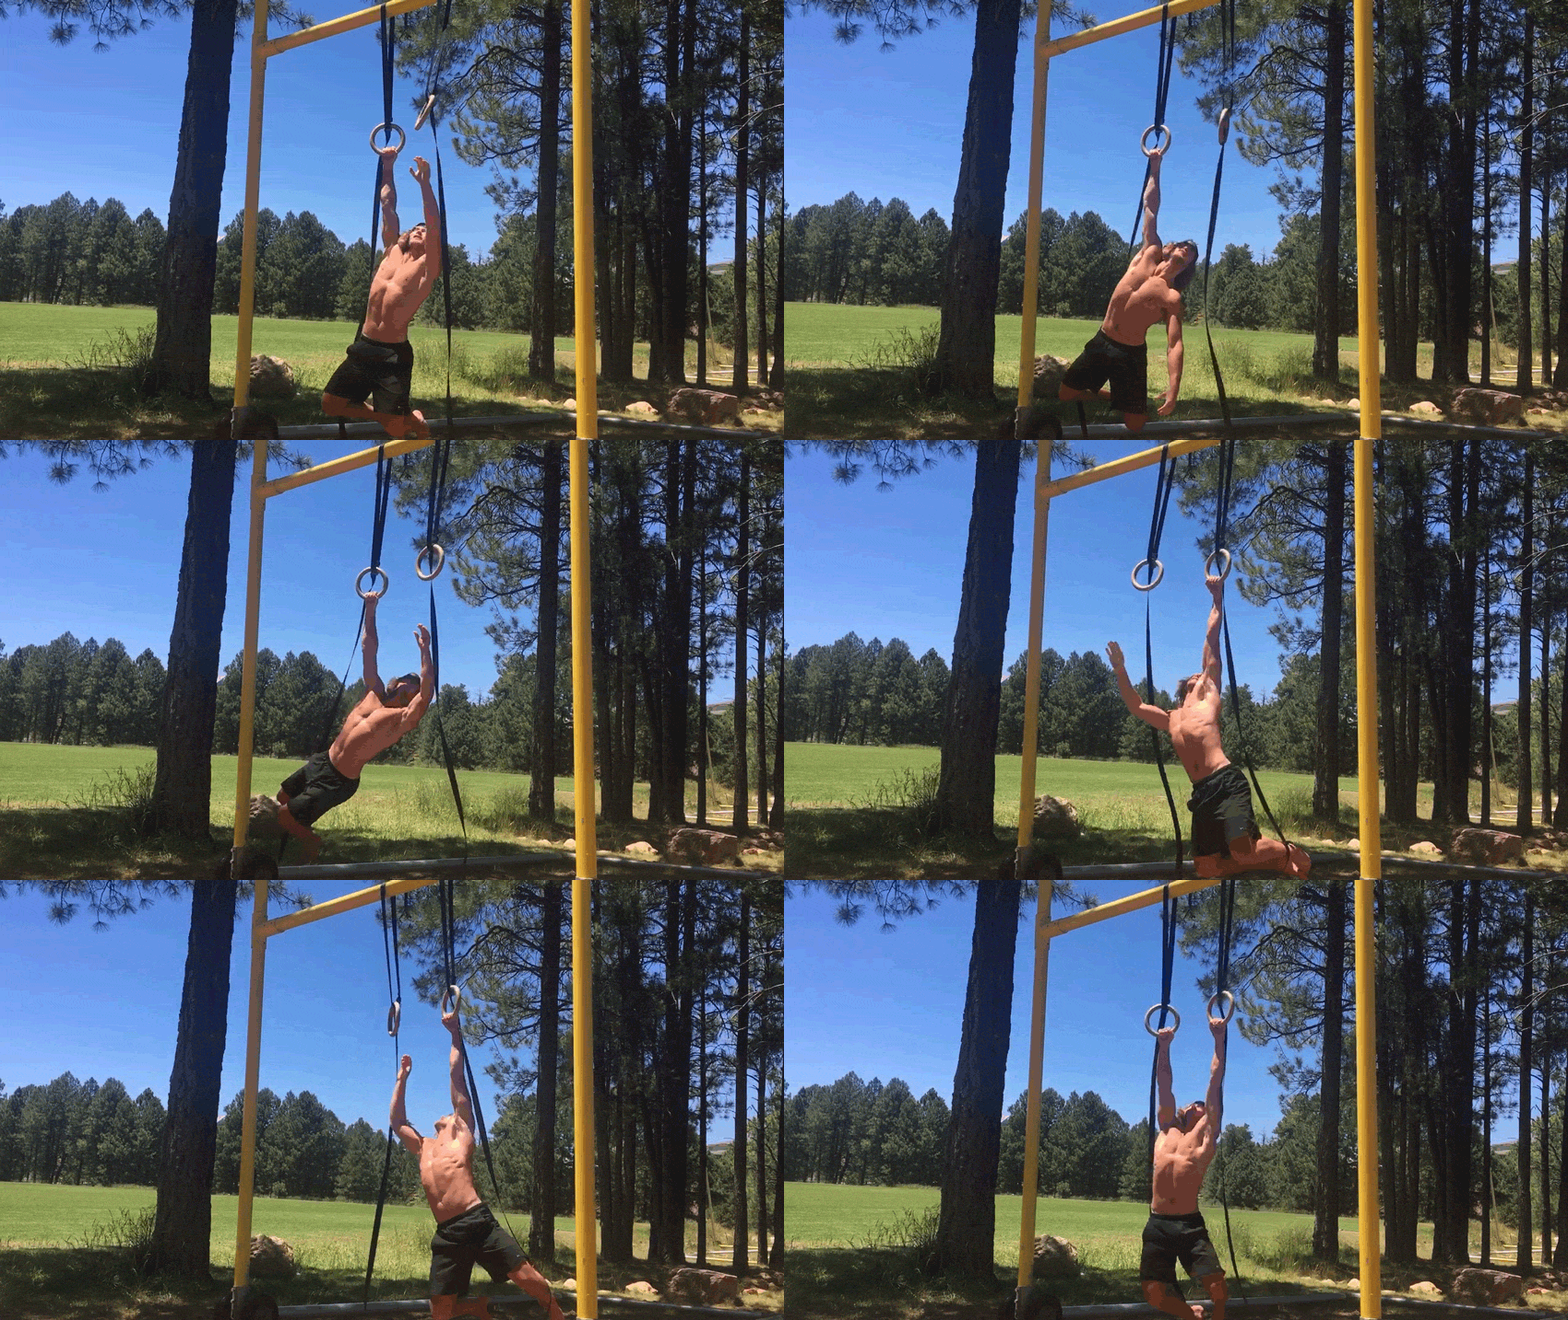
In dynamic hanging, you use a combination of the passive and active elements with the addition of momentum. You can gently swing forward and back, or side to side. You can also swing from hand to hand, or rung to rung, like monkey bars). All three styles are equally important to develop fully healthy shoulders but proceed patiently when you transition from passive, to active, to dynamic.
 Hang Tips
- Enjoy frequent, shorter periods of hanging when beginning
- Be consistent and hang daily or almost daily for anywhere from 5-10 minutes of total time.
- Vary your hanging environment by using bars, rings, branches, climbing grips, vertical poles, towels – you'll get different stimulation from the variety
- Change the grip, sometimes palms facing you, sometimes palm facing away, and sometimes facing each other
- Increase the difficulty for your muscles by making the bar thicker — wrap a towel around it or use a thicker pipe
- You will feel a little stretch, but should never feel pain. If you feel it is too much, always support your bodyweight from the ground until you become stronger over time
- Enjoy your hanging and stay patient; sometimes the improvements can take long time
Regular hanging will help you to regain the optimal overhead range of motion that we have lost due to our modern lifestyle. It will build great strength and endurance in your grip, and also the gravity stretches out and elongates your spine so the discs between the vertebrae get more space and thus they rejuvenate better. Hanging is a great progression in the GymnasticBodies Foundation Courses and will prep you for more advanced skills like legless rope climbs and seamlessly transfer to any other fitness mode you love.

